Saturday 30 March 2019

Watercolour Cards for SCRAP FX Design Team

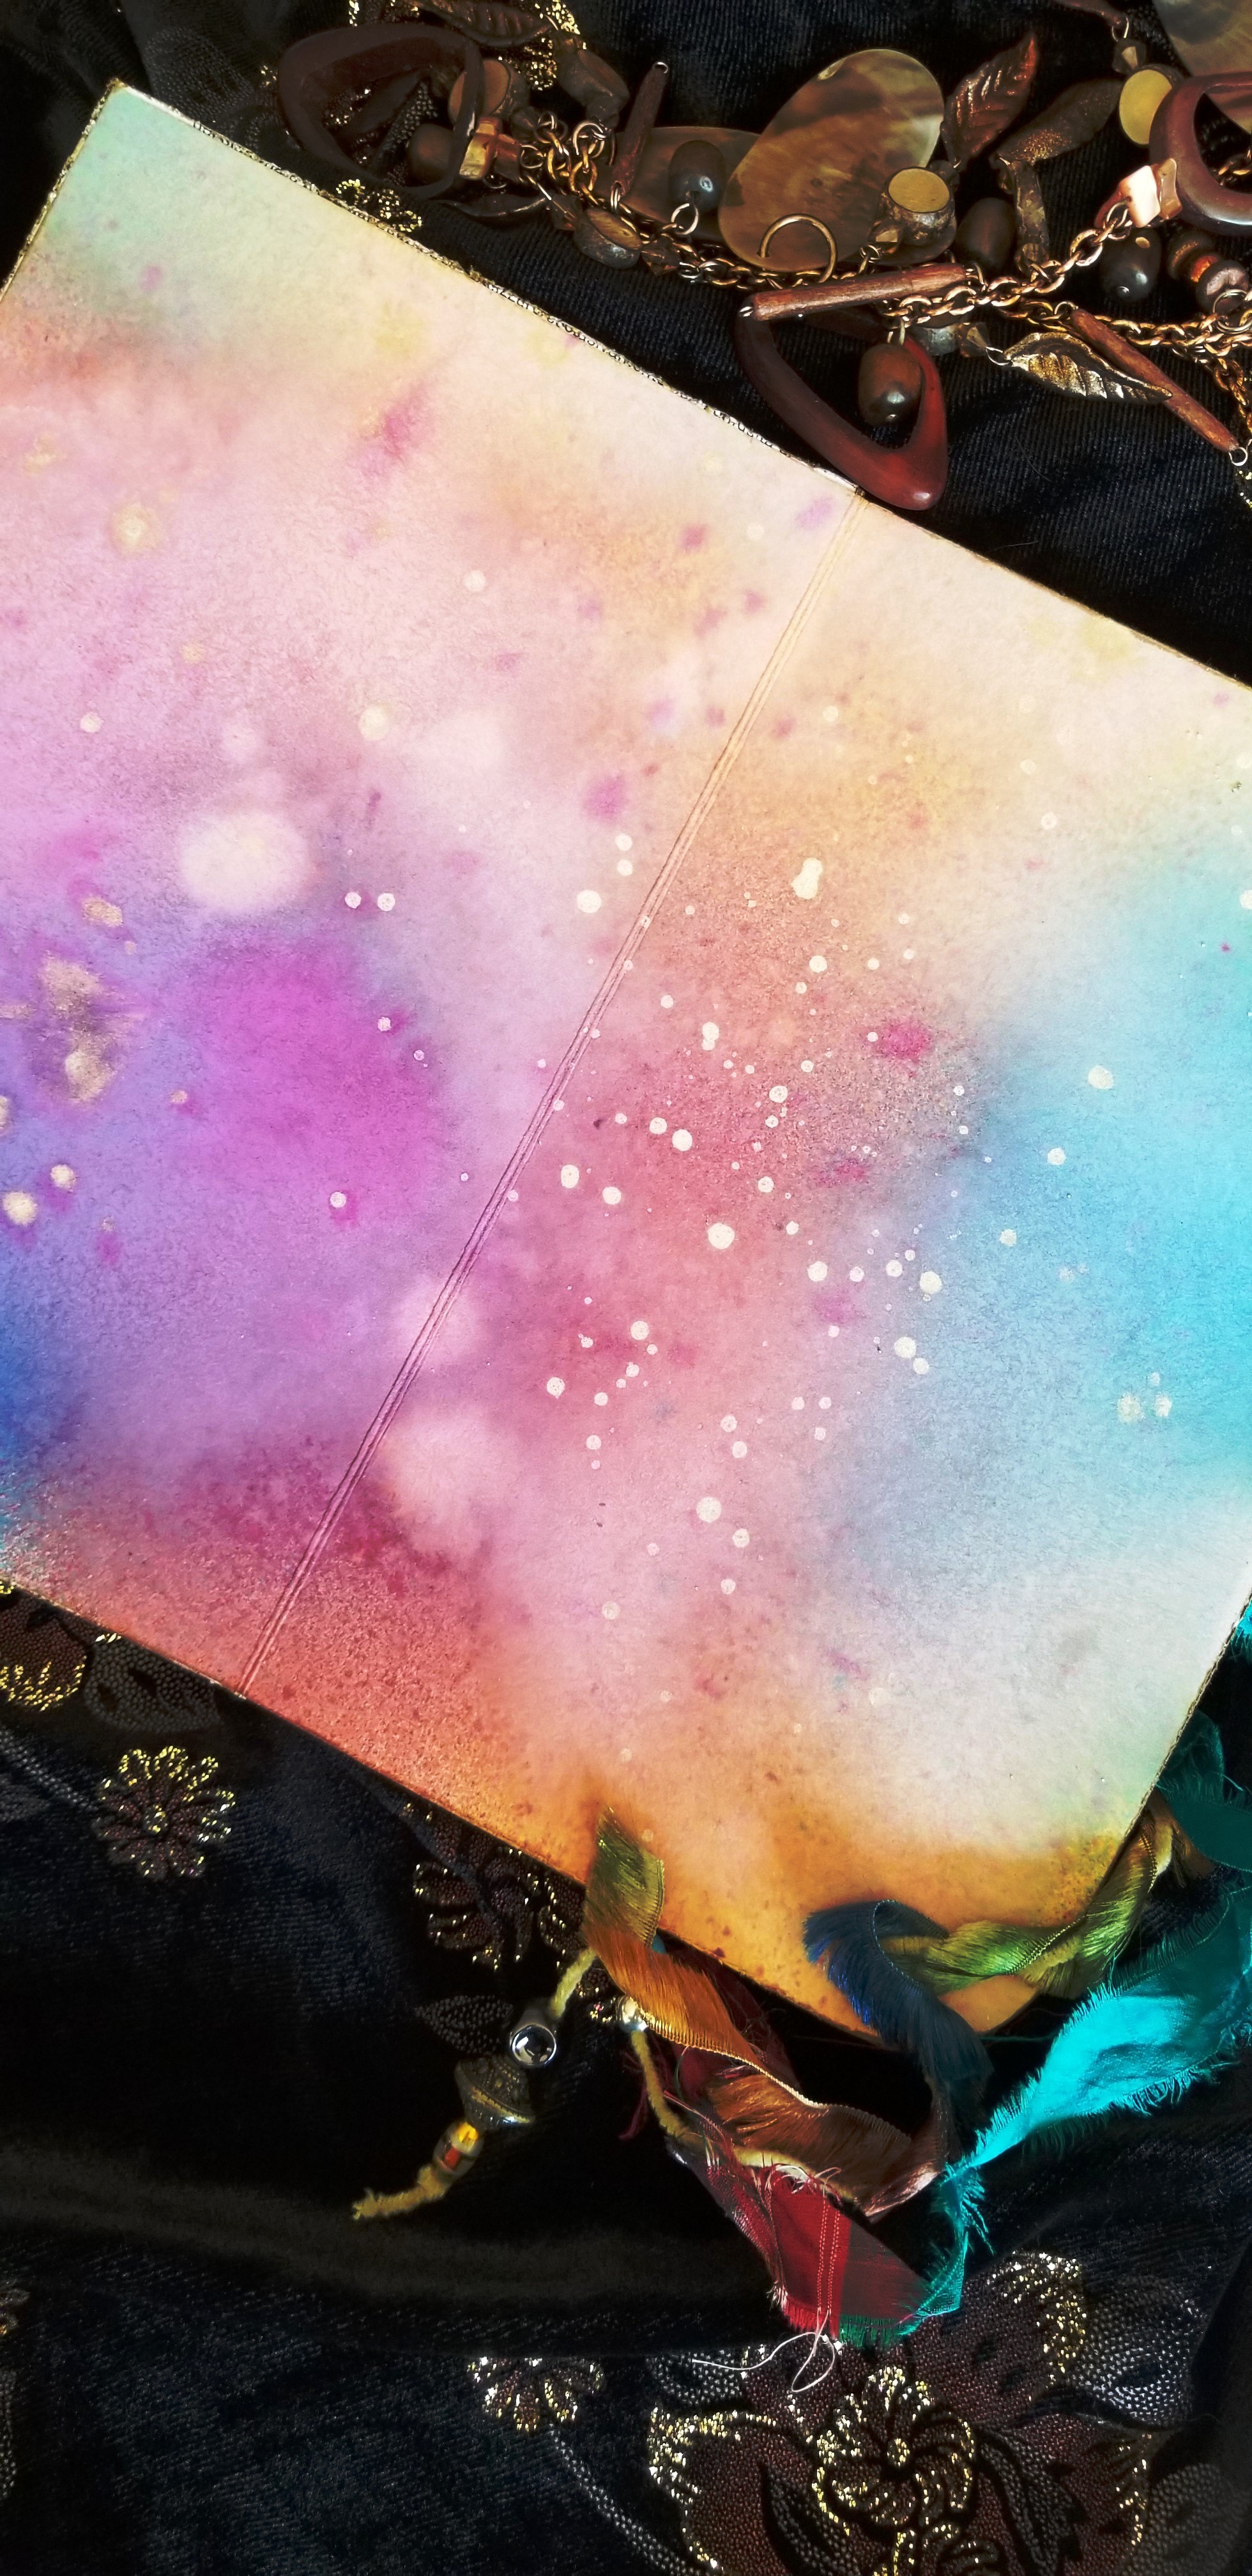
Today I would like to share my Watercolour cards 
designed using a resist technique with embossing powders
 & SCRAP FX stamps, stencils, chipboards and die cut silhouettes. 


On these two I used Silhouette Shapes.

On the GROW card I used the Wire Flower Silhouette


& the Rose Garden Black Silhouette


The Diamond Flourish Stamp was stamped on watercolour cardstock with embossing ink 
& heat embossed with Silver Pearl embossing powder from Ranger.
The beautiful colours applied are Twinkling H20 watercolours. 
Paper Dolls & Sentiments from Tim Holtz.


The Hash Stamps were used to give texture to the background.  
Heat embossed with Silver Pearl powder & a light wash of blue watercolour.
The sentiment is from the Love Transparency sheet over a ticket from my stash.
The strip on the side is a skin from a paint pour. 
(Knew it would come in handy for something!)

& on these two I used Chipboard shapes


The Heartscrawl chipboard shape was heat embossed 
with Princess Gold powder from Ranger, 
 a 2nd layer of clear UTEE was applied to give a thicker result.


The background was created by applying clear embossing ink through the Heart Explosion stencil
& heat embossing with Pearl powder.
Gorgeous water colours floated over background make the hearts stand out.
Sentiment is from the Love Transparency sheet.


& the final card features the Wired Love Chipboard Gold heat embossed.


The base of the card features the Chevron background stamp 
gold heat embossed with gorgeous watercolours floated across.
The sentiment is also from the Love Transparency set.


Hope you like my variety of unique watercolour cards.

Cheers for now,
Deb Adams

Wednesday 27 March 2019

DREAM JOURNAL for Paper Rose


Today I wanted to share a really beautiful 'Dreamy' Art Journal I made from scratch 
that I plan to fill with inspiring quotes & images.


I enclosed the Journal with a beaded ribbon & vintage sari strip wrapping.


I upcycled some thick white cardboard from Hospital packaging collected from my work.

I cut it into pieces approx 8 x 10".  
The surfaces were then coated with Distress Oxide Sprays 
(Mermaid Lagoon, Fossilized Amber & Faded Jeans) 
& Distress Spray Stain (Wild Honey) were used for the front & back covers
Other pages were combinations of Mermaid Lagoon & Cracked Pistachio & Faded Jeans,
 Fired Brick with Fossilized Amber & Iced Spruce.
Final splattering of Marabu Mixed Media Gold Acrylic spray.


Once dry, the sheets were scored down the centre & attached back to back with double sided tape.
Building up the pages of the Journal. Round the corners if desired.
Just make sure each set of pages is the same size & it should fit together perfectly.


The gorgeous Paper Rose Beautiful Mandala with Sayings Stamp set was white heat embossed 
on the front cover with a lovely sentiment also from this set. 
Further random stamping was done using Versamark ink with no embossing powder 
to give a softer shadow & texture in the background.


The spine of the Journal was made from a strip of Tim Holtz gold Deco sheet.
Strengthened with a layer of Gel medium.
Two eyelets were inserted into the back cover.
The fringed ribbon & sari strip were threaded through this to form the wrap for the Journal & secured with beads.


The edges of the Journal were roughened up using a distress tool
& swiped with an embossing dabber.
Dipped in my UTEE mixture (Mostly Clear, Platinum & Gold)
& heated to give a sealed, textured edge.
HINT: This covers up any slight irregularities in the page sizes.


I really like the size & weight of this Journal.
It is small enough to fit in my handbag.
The colours are soft & dreamy, & the oxides have a smooth, chalky finish.
Such a beautiful detailed stamp makes such an elegant feature on the cover.
Hope this inspires you to give Journal making a try.

Cheers for now,  DEB


Sunday 17 March 2019

Vintage Shadow Box - Paper Rose March Inspiration Board


My interpretation of the Paper Rose Autumn Inspiration Board for March 2019 
inspired the creation of this Vintage Shadow Box.


To me the Board has an olde world Australian feel with cobblestones & ironwork.
It has cracks & texture as well as gorgeous Autumn colours.


Note the browns, yellows, greens & blue greys with pops of coral pink & red 
in the gum leaves & bouquet. 
I recreated these colours with a mass of Paper Rose Gum Leaf die cuts 
& other ephemera using various sprays like 
Distress spray stain, Distress Oxide spray, Lindys Flat Fabios, & Mica spray.
The Tudor Arched Window die was cut from black cardstock 
& is almost completely hidden behind all the leaves. 
It represents the ironwork on the board.


Love it displayed within my antique collection at home. 


I included some gumnuts from my garden as well as an
Australian Vintage photo & postcards from my own collection.
The gumnuts were rubbed with a small highlight of Prima Art Alchemy wax
& attached with Prima 3D Matte Gel medium.
The photo & cards were scanned & printed from my originals onto thick card stock.  
 Photo edges were distressed & the surface aged further with Distress & Crazing medium
 from Ranger.


Other ephemera used for layering was made using Paper Rose Products, including  
The Vintage Letter stamp was used randomly with Watering can Archival ink.


I converted some kraft packaging to form the base of my Shadow Box project.
I applied some Tim Holtz Tissue tape in areas to help support the frame as well as a design element.
I sealed it with Clear Gesso before adding all the layers.
White Chalk Paint was applied using a plastic card in a patchy manner 
allowing some of the kraft to show through.
Crackle paste was then applied through a cobblestone/paving stencil across the base, sides & frame.
Prima Art Stones & Mini Art Stones were applied to fill the corners with gel medium.
Ageing & colouring of the base was done with Prima Artisan Powders in Umber & Clay, 
Distress Inks in Weathered wood, Walnut stain & Abandoned Coral. 
Diluted with water spray & dried between layers with a heat tool.


When making your composition of layers, build up the focal point 
(I used cardboard pieces) so other ephemera can slip in behind. 
Matte gel medium used for all gluing as it is not visible once dry.

Be sure to take a photo before gluing down to give yourself a reference.
With so many layers you can loose sight of your original idea. 


This project is keeping true to my preferred style so I am very happy with the result.
Lovely to have some die cuts that represent Australia so well.

Hope this inspires you to join the Paper Rose Community Facebook Group 
& to make a project for the Paper Rose Autumn Inspiration Board too.
I hope this shows that the Board can be broken down into many elements 
which can give you inspiration. 
I decided to use quite a few but one or two things can be enough.
Looking forward to seeing what you create.
Cheers for now,    Deb


Saturday 16 March 2019

Love this Life Journal - Scrap FX


Today I want to share an Art Journal 
that I have made from scratch for SCRAP FX Designers
which has some special meaning for me.

I intend to fill it with memories and ideas of the major things 
that have happened in my life already in 2019.
The sentiment 'Love this Life' is very suitable 
as we have lost our family pet this year 
& my husband has undergone major open heart surgery.
On a happier note my youngest son has turned 18, 
& we have holidayed in Tasmania.

I was inspired by the image of the 'bug' on the light bulb 
to represent how fleeting life is 
& that we should enjoy every moment.


I have upcycled some thick white cardboard 
from Hospital packaging I collect from work.
I cut it into pieces approx 8 x 10".

The surfaces were then coated with Distress Oxide Sprays 
& Distress Spray Stains.
The colours used for the covers were 
Mermaid Lagoon, Fossilised Amber & Wild Honey.


 Once dry, the sheets were scored down the centre 
& attached back to back with double sided tape.  
                                    Building up the pages of the Journal.
The spine was made from a strip of Tim Holtz gold Deco Sheet. 
Strengthened with a layer of Gel Medium.

The Scrap FX Heart Explosion Stencil was used to apply embossing ink 
with a dabber & clear embossing powder 
to give a subtle background pattern on the front cover.

The Chipboard sentiment Firefly with Chain were coloured with Black Gesso then heat embossed with clear powder & Lindy's Stamp Gang powders.

The area within the lightbulb was heat embossed 
with my special mixture of UTEE 
(Consisting of mostly clear with a little gold, platinum & black) 
over Tarnished Brass Distress Stain.


This was also used on the distressed edges of the journal 
& other highlighted areas.


The covers of the Journal were then splattered with Gold Marabu Acrylic spray.

I inserted two eyelets into the back cover to thread through a vintage Sari strip & fringed beaded strip to wrap & tie around the Journal.

The inside pages are just backgrounds so far.
  
Various combinations of the Distress Spray Stains of
Fired Brick, Faded Jeans, Fossilized Amber, Iced Spruce, Mermaid Lagoon 
& Purple Mica spray were used.


            I will post the inside Art Journal pages as they are created.
Thanks for taking the time to read.  Hope this inspires you to make your own unique Mini Book or Journal too.
Cheers for now,
 Deb


Wednesday 6 March 2019

More Mixed Media Cards for Paper Rose

I had lots of fun creating layered backgrounds with my Gel Press Plate 
& the Mixed Media Stamps from Paper Rose.


The busy colourful backgrounds paired nicely with these silhouette die cuts from Paper Rose.


The black silhouetted birds sit comfortably perched on cogs & wheels ...


as well as the sentiment die cuts.


I also used the die cut pieces to mask a monoprint from the Gel plate.
Shaded with charcoal pencil to enhance the outline.


Hope these cards brighten up your day as they did for me when making them.

Cheers for now   Deb

Paper Rose Products used:

Mixed Media Stamp 1 #17856
Mixed Media Stamp 2 #17859
Mixed Media Stamp 3 #17862
Cog Frame die #17868
Lots of Birds die #17748
Love Birds die #17742
Leaf set 1 die #16790
Layered Hello die #16951
Happy Birthday Large die # 16874
Birthday layered die #17358
Happy layered die #17448